This guide walks you through 15 critical changes that harden your Windows operating system with built‑in controls. You’ll use the Windows Security app, core firmware protections, and smart configuration to reduce attack surface.Expect clear steps, what to enable, and why it matters, plus advanced Group Policy options for Pro/Enterprise.
Can a few smart tweaks stop most common attacks and keep your data safe? That question drives this guide.
Managing protection on modern Windows can feel scattered. Controls live across the Settings app and the Windows Security dashboard, which now centralizes scans, firewall controls, and device checks.
We’ll show what to change, why it matters, and how these options defend your laptop and desktop against common threats. You will enable built‑in encryption, tighten sign‑in features like Windows Hello and Dynamic Lock, confirm firmware protections such as Secure Boot and TPM, and turn on virtualization features that protect the kernel.
Advanced readers will also see how Group Policy helps enforce rules across multiple users and systems. For deeper hardening guidance, consult this resource on hardening desktop operating systems.
Key Takeaways
- Use built‑in defenses: enable BitLocker, Controlled Folder Access, and Defender to protect data and block malware.
- Verify firmware: confirm Secure Boot and TPM status to raise baseline protection.
- Harden sign‑on: enable Windows Hello and Dynamic Lock to reduce credential theft.
- Limit exposure: tune firewall rules and app permissions to narrow network paths and data access.
- Keep systems updated: schedule updates, run scans, and maintain storage hygiene to close vulnerabilities.
Understand Your Security Baseline with the Windows Security Dashboard
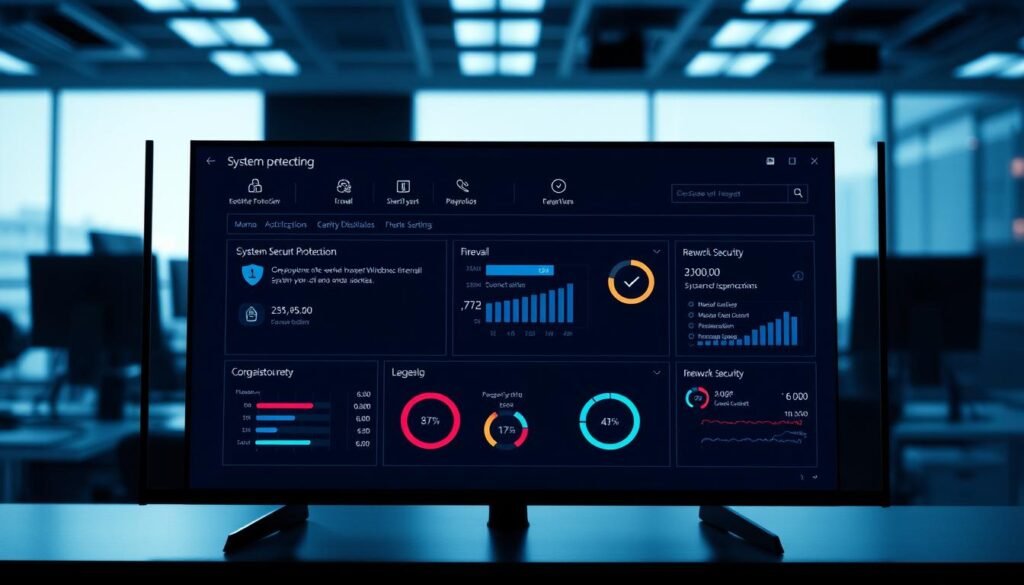
Start with visibility. The Windows Security app shows antivirus status, firewall health, and device protections in one place—your baseline. Run a scan, confirm firewall profiles, enable Tamper Protection, and check Core isolation to reduce risk before hardening further.
Before you change anything, check the Windows Security dashboard to see what’s already active. Open the Windows Security app from Start and pick Virus & threat protection to run a Quick or Full scan.
“Visibility is the first defense — know what protections are on and which are off.”
In Firewall & network protection, confirm Domain, Private, and Public profiles are enabled and review apps allowed through the firewall.
| Check | Where to find it | Action |
|---|---|---|
| Virus scans | Virus & threat protection | Run Quick/Full scan, review history |
| Firewall profiles | Firewall & network protection | Enable all profiles, remove risky exceptions |
| Core isolation (HVCI) | Device security | Check Memory integrity, enable if compatible |
| Tamper Protection | Virus & threat protection settings | Toggle on to block unauthorized changes |
- Use dashboard notifications to set a weekly reminder.
- Open Windows Update and apply pending updates to close known gaps.
- If protections are disabled, run the Windows Security troubleshooter under Settings > Update & Security.
Treat this dashboard as your management console: a fast process to validate defenses after installing new software, changing drivers, or joining a new network. Also check the Account protection card for user sign-in recommendations like Windows Hello and Dynamic Lock.
Lock Down Your Data with BitLocker and Device Encryption
Full‑disk encryption keeps your stored information unreadable if hardware is lost or stolen. Enable encryption early — especially on any laptop you carry outside the office.
Full‑disk protection stops thieves from reading your data even if they bypass the sign‑in screen.
When should you choose BitLocker or Device Encryption?
Use BitLocker for full control on Pro and Enterprise editions; use Device Encryption on supported Home devices.
BitLocker gives granular options: TPM integration, recovery management, and removable drive coverage. Device Encryption is simpler and often enabled on modern laptops.
How to enable BitLocker and back up the recovery key
On Windows 11 open Settings > Privacy & Security > Device encryption or Control Panel > BitLocker Drive Encryption. Choose how to save the recovery key — USB, file, or printed copy — and store copies offline.
Encrypt removable drives
Use BitLocker To Go to set a password or require a smart card on USB sticks and portable SSDs before travel. Without the recovery key, encrypted files become unreadable.

| Feature | Best use | Where to enable |
|---|---|---|
| BitLocker (full‑disk) | Pro/Enterprise desktops and laptops needing admin control | Control Panel > BitLocker Drive Encryption |
| Device Encryption | Home laptops with modern hardware that need simple protection | Settings > Privacy & Security > Device encryption |
| BitLocker To Go | Removable drives and portable media | Control Panel > BitLocker Drive Encryption |
“Back up your recovery key in at least two places; without it you can lose access to your own files.”
Risk reminder: After major hardware changes, test boot with TPM or the recovery key to ensure continued access and maintain system protection.
Stop Ransomware with Controlled Folder Access
Enable Controlled Folder Access to stop untrusted apps from encrypting or deleting your files. Add your working directories and monitor block events; allow only the apps you trust.
Preventing untrusted programs from changing your files is a simple, high-impact defense. Controlled Folder Access lives in Windows Security under Virus & threat protection > Manage ransomware protection. Toggle it on to deny write access to unknown processes.
Protect common libraries like Documents, Pictures, and Desktop. Also add custom project folders that hold contracts, photos, or other sensitive data so malware cannot tamper with them.
- How to allow a blocked app: Open the ransomware pane and use “Allow an app through Controlled Folder Access.”
- Monitor events: Review block logs to see which app attempted access and whether behavior is expected.
- Backup: Keep regular, offline backups so recovery is possible even if a threat bypasses protections.

| Action | Where | Why it matters |
|---|---|---|
| Toggle Controlled Folder Access | Windows Security > Virus & threat protection > Manage ransomware protection | Blocks unauthorized write operations and limits ransomware damage |
| Add protected folders | Ransomware protection > Protected folders | Shields Documents, Pictures, Desktop, and custom project folders |
| Allow trusted apps | Ransomware protection > Allow an app through Controlled Folder Access | Prevents false positives while keeping strict control |
“This control denies write operations from unknown app paths, dramatically reducing the window for damage.”
Harden Sign-Ins with Windows Hello, Account Protection, and UAC
Adopt Windows Hello for PIN, fingerprint, or face recognition to strengthen authentication while speeding up sign‑ins. Use a Microsoft account with 2FA and keep UAC prompts on to block silent elevation by unknown software.
Strengthen how people sign in so unauthorized access becomes much harder.
Set up PIN, fingerprint, or face recognition
Go to Settings > Accounts > Sign‑in options and enable Windows Hello PIN, fingerprint, or facial recognition. Biometrics bind authentication to your device and you, which lowers reliance on a reusable password that can be phished.
Use a Microsoft account with two‑factor authentication
Link a Microsoft account and turn on two‑factor authentication (2FA). This forces a second factor during sign‑in and protects accounts even if a password is compromised.

Keep User Account Control at recommended or higher
Search “User Account Control” and confirm the slider is at the recommended level or above. UAC prompts block silent elevation by software and give the administrator a clear approval gate.
Create a standard user for daily work and reserve an administrator account for tasks that need elevated rights.
“Use passwordless options where practical—Hello PIN plus 2FA reduces reliance on passwords and improves protection across devices.”
| Action | Where | Why it matters |
|---|---|---|
| Enable Windows Hello | Settings > Accounts > Sign‑in options | Faster, device‑bound authentication that resists phishing |
| Activate 2FA on Microsoft account | account.microsoft.com > Security | Adds a second factor so stolen passwords alone fail |
| Set UAC to recommended or higher | Type “User Account Control” in Start | Prevents silent admin installs and service changes |
| Create standard user accounts | Settings > Accounts > Family & other users | Limits daily exposure and preserves audit clarity |
Review the Account Protection card in Windows Security regularly. Add recovery contacts, rotate passwords that remain, and avoid reusing passwords across accounts. These steps keep user access practical and much safer.
Automatically Lock Your Session with Dynamic Lock
Dynamic Lock uses your phone’s Bluetooth to auto‑lock your computer when you step away. It’s simple and effective. Pair once, enable the option, and your laptop or desktop locks itself after you leave your desk.
A short walk away should not leave your files exposed — Dynamic Lock handles that automatically. Pair your phone in Settings > Bluetooth & devices > Add device and confirm a stable connection.
Then open Settings > Accounts > Sign‑in options and check “Allow Windows to automatically lock your device when you’re away” to turn it on. Expect a brief delay (about 30 seconds) after the paired device moves out of range before the screen locks.

- Verify pairing stability before relying on Dynamic Lock.
- Combine with short screen‑timeout values so manual locks aren’t your only defense.
- Keep Bluetooth drivers current; unpair and repair if behavior is inconsistent.
- On shared machines, remind each user to pair their own phone so individual sessions lock correctly.
Practical tip: Test by walking away with your phone. If it fails, reboot the Bluetooth stack and try the pairing again. For community tips and troubleshooting see this locking guide.
“Dynamic Lock is a low-effort guard that closes a common physical access gap.”
Use this feature on an office laptop or any computer in shared spaces to improve physical security while keeping work convenient.
Secure Boot, TPM, VBS, and HVCI: Strengthen Startup and Kernel Protection
Secure Boot, TPM, VBS, and HVCI work together to stop low‑level tampering before the operating system loads and while the kernel runs. Confirm these protections now; Windows 11 raises the baseline, but you should verify they’re actually on.
Startup and kernel defenses are the foundation of a trustworthy device.

Enable UEFI Secure Boot in your firmware (UEFI/BIOS) so only signed bootloaders initialize the system. Reboot, press the firmware key (F2/Del or OEM specific), and toggle Secure Boot on.
Turn on TPM (PTT or fTPM)
TPM (Trusted Platform Module) stores encryption keys and attests to firmware integrity. On Intel this may be labeled PTT; on AMD it appears as fTPM. Enable it in firmware, then confirm it under Device security in Windows Security.
Enable VBS and HVCI in Windows
Virtualization‑Based Security (VBS) isolates sensitive processes in protected memory. Hypervisor‑Protected Code Integrity (HVCI) validates kernel code and blocks unsigned drivers. Open Windows Security > Device security > Core isolation and toggle Memory integrity.
- Note: HVCI can impact older CPUs—test critical apps, but prioritize protection on laptops and frontline devices.
- Tip: Pair these startup controls with disk encryption so data at rest and the boot path are both defended.
- After hardware changes: re‑check Secure Boot and TPM; firmware updates can reset defaults.
“These security features harden early execution paths and reduce the window for stealthy, persistent attacks.”
Configure Windows Defender Firewall and Advanced Rules
Keep the firewall enabled across Domain, Private, and Public profiles, and prune unnecessary app exceptions. Use Advanced Security to create precise inbound/outbound rules that restrict risky application traffic and ports.
A good start is Windows Security > Firewall & network protection. Confirm each profile reads “On” and open Allow an app through firewall to remove stale or unknown entries.
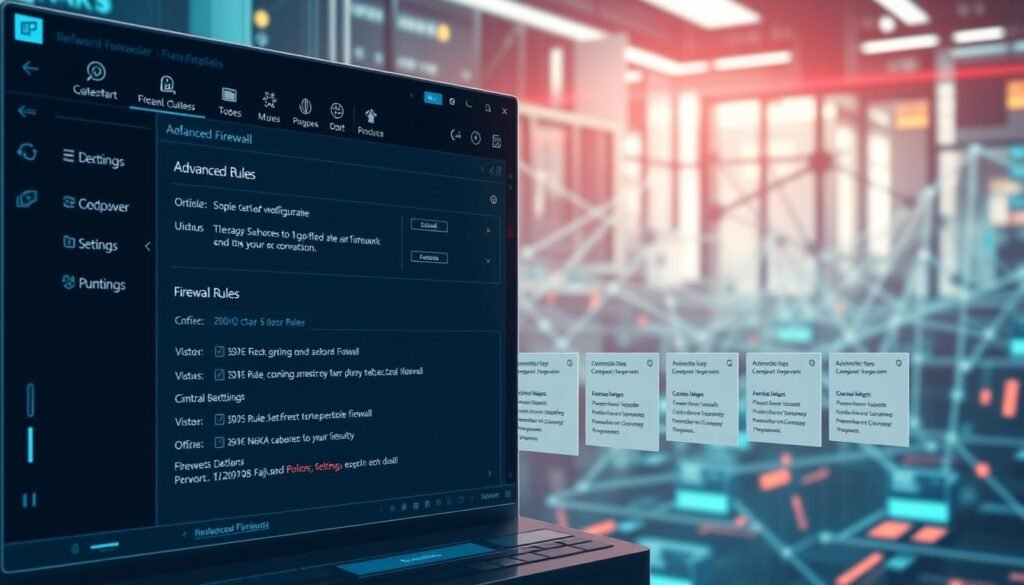
When you need precision, launch Windows Defender Firewall with Advanced Security. Create rules by executable, port, or protocol to block or permit traffic only as required.
- Block outbound apps that should not phone home.
- Restrict inbound ports on servers to the exact port numbers the service needs.
- Document each rule with the app name, port, and business justification to aid audits.
Test new rules on a non‑production device first. If you use Delivery Optimization, consider Simple (HTTP only) mode to limit peer sharing across the network.
Practical rule: avoid broad “Any/Any” allows — narrow rules reduce exposure and make incidents easier to trace.
For management at scale, combine firewall rules with Group Policy and consult this guide to firewall setup and management for deeper process tips: effective firewall strategies.
Privacy First: Windows Privacy Settings and App Permissions
Review and reduce telemetry and web exposure, and grant app access only when necessary. Keep Find my device enabled only if you accept the location tradeoff.
Your device can spill data quietly; tighten what apps can access and what Windows reports back to Microsoft.
Turn off extra diagnostic data. Go to Settings > Privacy & Security > Diagnostics & feedback and disable optional diagnostics. In business environments, set the Group Policy Administrative Templates > System > Allow Diagnostic Data to Diagnostic data off to enforce stricter control.
Remove web results from search. Use Group Policy: Computer Configuration > Administrative Templates > Windows Components > Search > “Don’t search the web or display web results in search” (Enable). This keeps queries local and reduces unexpected exposure.
Manage app permissions. Open Settings > Privacy & Security > App permissions and revoke camera, microphone, location, contacts and other rights for apps that don’t need them. Limit background apps under General to reduce tracking and resource use.
Use Find my device only if you accept enabling Location services. For a practical overview of privacy choices and tradeoffs, see this privacy guide.
“Grant permissions deliberately — opt in per app and revisit after installs.”
Family Options and Standard Accounts: Limit Risk for Shared PCs
Separate admin and daily use. Standard accounts and Family Options reduce mistakes and malware impact on shared PCs. Apply screen time, content filters, and activity reports so users have the right access without excessive permissions.
Shared computers pose unique risks; a clear user plan reduces mistakes and exposure.
Set screen time, content filters, and activity monitoring
Open Windows Security or Settings > Accounts > Family & other users to add family members and set limits. Use activity reports to see app and web use and adjust age‑appropriate filters.
Create standard (non‑administrator) accounts for everyday use
Create a standard user for daily tasks so installers and system changes require admin approval via UAC. Keep the administrator credentials secure and with IT if this is a shared office computer.
- Review apps in child profiles and remove unnecessary ones.
- Document who has admin access and why to aid management and audits.
- Combine Family Options with Group Policy when you need to block the Store or restrict app execution.
“Least privilege limits damage: daily users should not run as admins.”
15 critical windows settings for maximum security: Updates, Scans, and Storage Hygiene
Keep updates automatic, scan regularly, and clean residual data. These maintenance steps close gaps attackers rely on.
Schedule time for restarts and full scans so protections stay current without disrupting your work.
A predictable maintenance habit closes the gaps attackers probe first. Treat patching, deep scans, and storage cleanup as a simple, repeatable process that protects device and data.
Set Windows Update to automatic and schedule manual reboots
In Settings > Windows Update, leave automatic updates on and pick a weekly restart window. Driver updates often fix vulnerabilities, so check updates if you delay restarts.
Run full malware scans periodically and review threat history
Open Windows Security > Virus & threat protection and run a Full scan monthly. Real‑time defense stops most threats, but deep scans find dormant malware and odd files.
After scans, review the threat history and confirm detections are quarantined or removed.
Use Storage Sense for automatic cleanup to reduce residual data exposure
Enable Storage Sense in Settings > System > Storage to clear temp files and empty the recycle bin on a schedule. Less leftover data reduces leakage and speeds forensic checks after incidents.
- If you run third‑party protection, keep that software updated and avoid running multiple engines that conflict.
- Verify BitLocker or Device Encryption remains active after large updates and reconfirm your recovery key copies.
- Check the firewall after major patches so app allowances haven’t changed, and advise remote workers to scan on trusted networks before travel.
“Routine maintenance is the simplest way to keep threats from taking root.”
Advanced Hardening with Group Policy (Pro/Enterprise)
Group Policy lets you enforce security settings across systems—no drift, fewer blind spots. Start with telemetry and identity hardening, then lock down apps, storage, and legacy protocols to reduce attack surface.
Use the Local Group Policy Editor (gpedit.msc) or Group Policy Management in Active Directory to apply these controls centrally. Document the target OUs and change window so updates are traceable and revertible.
Block telemetry, web results, and application telemetry
Set Computer Configuration → Administrative Templates → Windows Components → Search → “Don’t search the web or display web results in search” to Enabled. Then under Data Collection set Allow Diagnostic Data to Enabled and choose Diagnostic Data off via AD templates.
Enable Turn off Application Telemetry and Turn off Inventory Collector (Application Compatibility) to reduce unintended data flows.
Enforce password rules and audit logon events
Configure Computer Configuration → Windows Settings → Security Settings → Account Policies → Password Policy to enforce complexity, set minimum and maximum password age, and apply lockout thresholds.
Enable Advanced Audit Policy for Logon/Logoff success under Security Settings → Advanced Audit Policy Configuration → Logon/Logoff to increase visibility into user authentication activity.
Harden administrator accounts and legacy authentication
Rename the default Administrator, disable the built‑in Administrator and Guest accounts, and set Security Options → Do not store LAN Manager hash. Set LAN Manager authentication level to Send NTLMv2 response only. Refuse LM & NTLM and disable anonymous SID/name translation.
Lock down apps, store, and removable media
Use Turn off Windows Installer, Disable all apps from Microsoft Store, and enable Run only specified Windows applications or Don’t run specified Windows applications to block CMD and Regedit for standard users.
Set All Removable Storage classes: Deny all access to prevent data exfiltration and malware spread from USB devices.
| Policy area | GPO path (example) | Recommended state |
|---|---|---|
| Search / Web results | Computer → Admin Templates → Windows Components → Search | Don’t search the web — Enabled |
| Diagnostic data | Computer → Admin Templates → Windows Components → Data Collection | Allow Diagnostic Data — Diagnostic Data off |
| Authentication | Computer → Security Settings → Local Policies → Security Options | LAN Manager auth level — NTLMv2 only; disable LM/NTLM |
| App control | Computer → Admin Templates → System | Disable Store & Windows Installer; block CMD/Regedit for users |
| Removable media | Computer → Admin Templates → System → Removable Storage Access | Deny all access — Enabled |
“Audit and enforce: policy is effective only when monitored. Combine GPOs with logging and network controls to prevent drift.”
- Management tip: Test changes on a pilot OU; then roll out with clear rollback steps.
- Network note: Pair these policies with firewall rules and NTLM restrictions to reduce lateral risk across the network.
Conclusion
Focus on the essentials: verify boot protections, encrypt drives, harden sign‑ins, limit app and network exposure, and keep maintenance on schedule.
Use Group Policy where possible to lock in secure defaults and prevent drift across every computer and laptop you manage.
Treat the Windows Security dashboard as your first stop to confirm protections are enabled and healthy on each device. Keep BitLocker active and store the recovery key offline.
Use Windows Hello with 2FA, keep UAC at the recommended level, and use a standard account for daily work. Keep the firewall enabled, trim exceptions, and review privacy options and diagnostic choices.
Schedule updates, full scans, and Storage Sense cleanup. Translate this guidance into Group Policy baselines for fleets. Security is a practice—revisit configs after updates or hardware changes so protections remain enabled by default.
