
Can a few quick menu moves really stop a thief, foil hidden malware, and keep your private texts private? That question drives this guide. You’ll get clear, actionable steps to tighten the most impactful controls on your phone today.
Start small, change fast. We cover the Permission Manager so you can revoke needless access, and we show how to turn on Play Protect scans from the Google Play store to reduce malware risk.
We’ll also walk through turning off Extend Unlock (formerly Smart Lock), hiding lock screen previews, using App Pinning when you must hand your device to someone else, and setting up Find My Device plus Remote Lock. These moves protect privacy without breaking your everyday experience.
This short guide focuses on practical menu routes, why each change matters, and the immediate benefits you’ll notice in real use.
Key Takeaways
- Review permissions with Permission Manager and revoke excess access.
- Enable Play Protect to scan for harmful software regularly.
- Disable Extend Unlock/Smart Lock to ensure the phone actually locks.
- Use App Pinning before handing your device to someone else.
- Set up Find My Device and Remote Lock for theft response.
- Hide lock screen content to protect codes and messages.
Why Android security settings matter right now
Many important protections arrive turned off by default, so a quick audit reduces real-world risk. Attackers exploit easy targets: unlocked screens, permissive defaults, and noisy notifications.
Make a few fast changes and you’ll cut exposure to theft, oversharing, and malicious software.
Industry reports note that several safeguards — like Find My Device visibility and Theft Protection — may not be enabled when you first use a phone. That gap leaves recovery tools and automatic locks inactive until you opt in.
Permissions and location access are common leak paths. Excessive data collection lets apps share information about habits and movement. Reducing permission scope and hiding sensitive notifications on the screen stop many simple leaks.
- High impact, low time cost: review permissions, toggle lock-screen previews, and enable Play Protect scans.
- Make audits a habit: check permissions and privacy monthly to catch new access requests.
| Risk | Default Behavior | Quick Fix |
|---|---|---|
| Unlocked information | Notifications show content | Hide sensitive previews on the lock screen |
| Location overshare | Some apps get full-time access | Grant location only while using the app |
| Theft recovery off | Find My Device may be inactive | Turn on visibility and test remote lock |
secure android 5 app settings: the quick list you’ll enable today
A focused checklist lets you flip a few high-impact toggles and cut common leaks in minutes. These moves protect privacy without adding friction to daily use.
What counts as an “app setting” vs. a system control? App-level choices govern how an individual android app can read sensors, files, or device state — for example, notification visibility, background permission use, and specific app permissions like camera or location.
System controls apply across the whole phone. They shape lock behavior, theft detection features, and device discovery. Those system items still change what apps can do, so treat them as part of the same plan.
- High-impact app changes: audit Permission Manager, hide sensitive lock-screen notifications, limit location to “Only while using,” enable Play Protect scans, and use App Pinning when sharing your screen.
- System reinforcements: turn off Extend Unlock, set up Find Device for recovery, and enable Theft Protection features on your devices.
Prioritize by risk: stop lock-screen leaks first, then tighten app permissions, then limit location collection, and finally run Play Protect scans. If you’re short on time, follow this order as a checklist.
For details on Play Protect and scanning behavior, review the official Play Protect details.
Tighten app permissions with Permission Manager
A quick pass through Permission Manager cuts needless access and shrinks your exposure fast. Do this once now and again after updates to keep your phone from sharing more than it should.
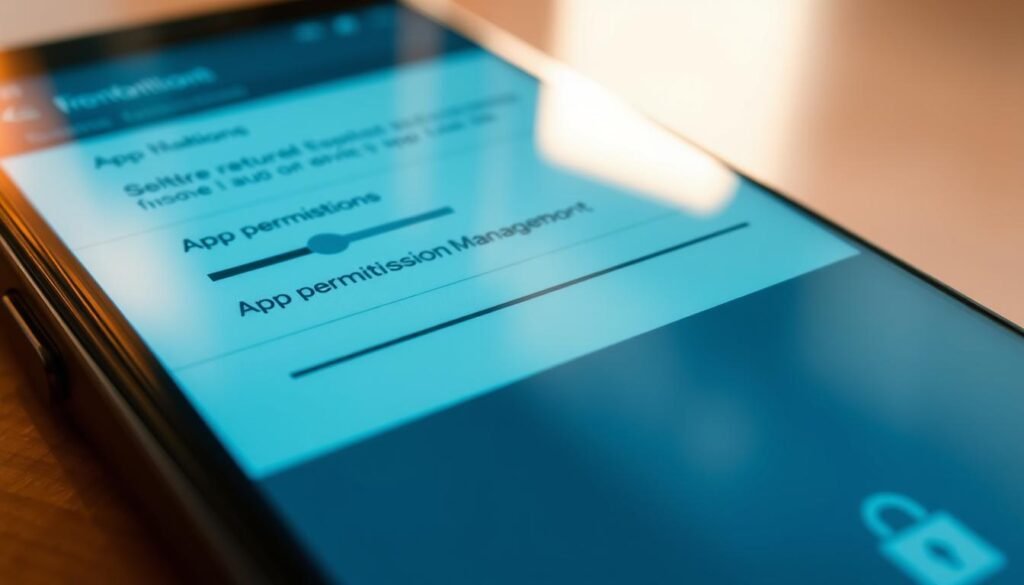
Route: Go to Settings → Privacy → Permission Manager to see all permission categories in one place.
Revoke risky access
Audit by category — Location, Camera, Microphone, Contacts, Files — and find apps with “Allow all the time.”
- Tap a permission, select an application, then choose “Don’t allow” or “Allow only while using the app.”
- Revoke permissions from nonessential apps; social and shopping apps rarely need constant camera or mic access.
- If an android app stops working, restore just the minimum permission it needs for that task.
Prefer granular defaults
Choose “Allow only while using” to limit background access and reduce unnecessary data collection. Check high-risk categories monthly, document changes on work phones, and keep a strong lock to lower overall risk.
Control lock screen notifications to prevent data leaks
A visible preview can reveal a bank code or private message in seconds; hide previews to cut that risk. This step stops quick shoulder-surfing and blocks one-time passcodes from appearing where anyone can read them.
Route:
How to get there
Open Settings → Notifications → Notifications on Lock Screen and choose what appears before you unlock the phone. Use per-item controls to keep sensitive content private.
- For high-risk apps, set “Do not show any notifications” or select “Hide content” so the notification exists but shows no details.
- Protect 2FA codes by disabling previews for messaging and mail apps. That prevents one-time passcodes from appearing on the locked screen.
- Balance awareness and privacy—keep caller and calendar alerts visible while masking message content.
- On some Pixel models you’ll find per-app lock-screen controls. Review finance, health, and work items first.
| What to hide | Why it matters | Quick action |
|---|---|---|
| Message and email previews | Reveal sender, subjects, and 2FA codes | Set to “Hide content” or “Do not show any notifications” |
| App notifications with sensitive data | Leak account numbers, health info, work files | Apply per-app block or remove lock-screen preview |
| Silent conversations or low-priority alerts | Create clutter and accidental exposure | Hide silent notifications or mute them |
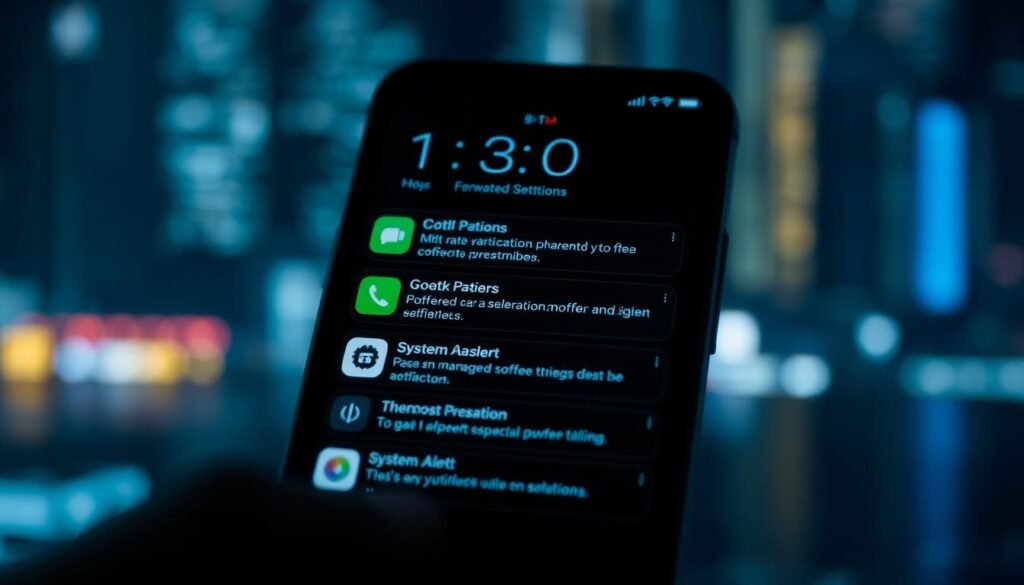
After you change options, send yourself a test message and check the phone lock screen to confirm no sensitive information shows. Combine this with a quick screen timeout and a strong lock to reduce leaks when you hand the device to someone else.
Limit location and Google Location History
Location history can silently map your daily routes — and you can stop the trail with a few quick toggles. Turn off or auto-delete stored location to shrink long-term exposure.
Route:
Where to go
Open Settings → Location → Location Services → Google Location History to manage the historical trail tied to your google account.
- Turn off Location History or set an auto-delete period so old location data is purged automatically.
- For each phone app, set Location to “Off” or “Allow only while using the app” unless continuous access is essential (navigation, tracking).
- Disable precise location for apps that only need an approximate area, like weather or news.
- Check “Recent location requests” to spot background use and adjust your settings.
- Watch default prompts that nudge permanent access — choose session-only when feasible.
Balance privacy and function: delivery and map services may need short-term access. If you want a step‑by‑step on clearing account location data, see Google’s guide on account controls: Manage your Google Account data.
To verify nothing odd is sharing your whereabouts, run a quick audit and review unexpected entries. For practical tips on spotting accidental sharing, check this walkthrough: How to spot unwanted location sharing.
Turn off Extend Unlock (formerly Smart Lock) for true device lock
Extend Unlock trades convenience for risk; disabling it restores consistent locking behavior on your device. This change cuts the chances of someone getting in if your phone is picked up or left nearby.
Route:
Settings → Security & Privacy → More Security & Privacy → Extend Unlock
- Turn off On-body detection so the phone locks once it is set down or moves out of pocket.
- Remove Trusted places to stop the device staying unlocked at locations that may be shared or public.
- Unpair Trusted devices so nearby gadgets no longer keep the phone unlocked.
The benefit is immediate: far less chance of unauthorized access. The daily experience changes little — you’ll see the PIN or biometric prompt more reliably, which is the goal.
Consider shortening the auto-lock timeout and testing any smartwatch unlock after you change trust rules. Prefer biometrics and a strong numeric PIN as your fallback. Labels can move between “Smart Lock” and extend unlock after OS updates, so recheck this item during audits.
| Feature | Default Risk | Quick Action |
|---|---|---|
| On-body detection | Phone stays unlocked while carried | Turn off to force lock when set down |
| Trusted places | Unlocks in shared or public locations | Remove places that are not strictly private |
| Trusted devices | Nearby gadgets keep phone open | Unpair nonessential devices; test smartwatch unlock |
Scan and block threats with Google Play Protect
Trigger a Play Protect scan to detect and remove risky software on your phone fast. This tool runs background checks but a manual scan helps after new installs or odd behavior.
How to run a manual scan
Route: Open Play Store → tap your profile → Play Protect → Scan.
Play Protect focuses on apps from Google Play and flags potentially harmful software and malware. If it marks an entry, follow the recommendation and uninstall the flagged android app to reduce compromise risk.
Remember that third‑party stores and sideloaded APKs may be outside Play Protect’s coverage. Keep Play Services and the Play Store updated so detection intelligence stays current.

| When to scan | Quick action | Why it matters |
|---|---|---|
| After installing new apps | Run Play Protect → Scan | Catch malicious software early |
| When phone acts oddly | Scan and remove flagged items | Stop battery drains, crashes, or pop-ups |
| After travel or network changes | Manual scan plus update | New networks can expose devices to risky installs |
Pair Play Protect with strong authentication and a reliable screen lock for layered security. Enterprise teams should add MDM/EDR for broader visibility and faster response.
Add a quick shield with App Pinning for shared phone moments
When you must hand your phone to another person, a quick pin keeps them inside one screen and away from private content. App Pinning confines use to a single app until you explicitly unpin it.
Why this helps:
How App Pinning protects your data when someone else uses your device
Pinning prevents swipes into photos, messages, or other notifications. It forces the user to stay in the selected app and blocks accidental access to other content.
“Limit exposure to one function — then hand the phone over with confidence.”
Quick steps to use it:
- Enable App Pinning in Security & Privacy → More security settings (label varies by maker).
- Open the target app, enter Overview, tap the app icon, then choose Pin.
- To unpin, perform the required gesture and confirm with your unlock method (PIN or biometric).
Tips: Test the flow, require PIN to unpin if available, and keep commonly shared apps on the home row for faster access. Combine pinning with masked lock‑screen content for stronger containment during handoffs.
Set up Find My Device (Find Hub) for loss and theft recovery
If your phone goes missing, a correctly set up Find My Device lets you act fast and regain control. This is the tool you use to find location, ring the handset, or force a lockdown from elsewhere. Set it up now so you have options when minutes count.
Sign in and verify visibility on the map
Install or open Find My Device (Find Hub) and sign in with the same google account linked to your android phone. Confirm your device appears on the map with a recent location and battery status.
Tip: Enable Location and the Find My Device toggle so tracking stays reliable. Practice once: ring, locate, and confirm the phone responds.
Use Remote Lock from android.com/lock for urgent lockdowns
When you need to act, visit android.com/lock from another device and send a Remote Lock to the phone’s screen. Remote Lock requires the phone to be online and is limited to two uses per day, so choose wisely.
Thieves often pull the SIM or cut the network; work fast while the device shows as online. Keep a backup device (laptop or second phone) signed in to manage the incident and document IMEI and carrier info for reports.
- Install/open Find My Device and sign into the same google account on your phone.
- Confirm the device is visible on the global map with recent location and battery data.
- Enable Location and Find My Device toggles for dependable tracking.
- Practice ring, locate, and lock so you can act calmly under stress.
- Use android.com/lock to lock phone to the screen in near real‑time while the device is online.
| Action | Why it matters | Quick check |
|---|---|---|
| Sign in to Find Hub | Makes the phone visible on your account map | Device shows with location & battery |
| Enable Location | Improves accuracy and tracking | Toggle on in privacy controls |
| Remote Lock | Locks screen remotely to buy time | Use android.com/lock while online |
Enable Android’s new Theft protection options
Turn on Theft Protection and Offline Device Lock to cut the time a thief can reach your files. These built-in features help the phone react faster than manual recovery steps.
Turn on these controls in Security & Privacy → Theft Protection. The features work together: one watches motion, the other watches connectivity.
Automatic snatch detection to lock your phone
Detection uses on‑device sensors to spot a sudden grab and immediately trigger a lock. This reduces the window for unauthorized access to files while you act.
Offline Device Lock when SIM is pulled or network drops
Offline Device Lock locks the device if Wi‑Fi or cellular drops, stopping many SIM‑pull attacks before they escalate.
- Keep Find Device active for follow-up locating and remote actions from other devices.
- Shorten auto‑lock timers and set a strong PIN plus biometrics—locks only help if fallbacks are robust.
- Test and review these options after OS updates so the protections remain enabled.
| Feature | What it does | When to use |
|---|---|---|
| Theft detection | Uses motion sensors to trigger an immediate lock | Enable always; helps during sudden grabs |
| Offline Device Lock | Auto‑locks when network connectivity is lost | Useful against SIM removal or network tampering |
| Find Device | Locate, ring, lock, or wipe remotely | Keep active for recovery and as redundancy |
Strengthen unlock security: PIN, hide passwords, and Lockdown mode
A strong unlock routine stops casual access and raises the cost for a targeted attacker. Use a robust PIN, hide on-screen passwords, and know how to force a PIN-only unlock when needed.
Quick wins: switch off on-screen password previews and learn to use Lockdown mode from the power menu when you need extra protection.
Disable “Show passwords while typing.” Turn this off at Settings → Security & privacy → More security & privacy to keep typed passwords from appearing briefly on the phone lock screen. That simple change reduces shoulder-surfing and limits accidental leakage when you type in public.
Use Lockdown mode to prefer PIN over biometrics. When enabled from the power menu, Lockdown forces a PIN or passcode to unlock and temporarily disables facial and fingerprint entry. It’s ideal at border crossings or in situations where biometrics could be coerced or bypassed.
- Use a strong numeric PIN; avoid birthdays or short patterns to harden authentication.
- Shorten auto-lock and reduce screen timeout to limit unattended exposure.
- Re-enable Lockdown each time you need elevated protection — it’s temporary by design.
- Consider alphanumeric passcodes if your risk profile requires higher assurance; test usability on your device first.
- Limit lock-screen widgets and quick toggles to cut unintended access pathways.
Document recovery methods (backup codes, secondary factors) and keep them separate from the phone to preserve account access if you must rely on the PIN-only fallback. For a practical guide to using Lockdown mode, read this hands-on walkthrough from a trusted source: How to use Lockdown mode.
Optimize ads and privacy signals in your Google Account
Turn off ad personalization to reduce profiling tied to your account and device. This cuts the amount of information Google and third parties use to target ads across web and phone surfaces.
Route: Open Settings → Google → Ads → Ad personalization, then tap the link to manage controls in your Google Account.
From the Google Account dashboard go to Data & privacy → Ad Settings → Ad personalization. Disable ad personalization to stop many signals that feed cross-service profiles. Tom’s Guide notes this is the quickest way to reduce tracking tied to your account.
- Open: Settings → Google → Ads → Ad personalization → manage in your google account.
- In Data & privacy, disable Ad personalization tied to your device and services.
- This reduces the information used for targeted ads and limits cross-apps profiling.
- Check “My Activity” and set auto-delete intervals to the desired default retention level.
- Validate these settings across web and Google Play; some controls appear only in the browser view.
Keep the phone signed into only accounts you use and remove old accounts that leak context. For business devices, align ad controls with organizational security privacy policies. Revisit these controls quarterly and document tradeoffs—expect fewer tailored recommendations in exchange for reduced tracking.
Don’t skip this: emergency contacts on your lock screen
Make sure first responders can reach your designated contacts from the lock screen in an emergency. This small step lets a helper call your people or see medical notes without unlocking the device.
Add Emergency information in Settings → Safety & emergency (label varies) to surface critical details on the lock screen. Include primary and backup contacts, medical conditions, and allergies so responders get useful information fast.
When set up correctly, helpers can call your listed phone contacts directly from the locked screen. That beats fumbling through apps while minutes count.
- Keep entries current: review after job or number changes so responders reach the right person.
- Avoid sensitive notes: this is public-facing information, not a secure memo.
- Use an ICE label (In Case of Emergency) to reduce confusion.
- Train family: show relatives how to access emergency info on common models.
This quick safety and security step can save minutes in a crisis. For step-by-step help to set emergency details, follow the official Emergency info guide.
Conclusion
Keep this checklist handy: review permissions, mask lock‑screen content, limit location history, and turn off Extend Unlock.
Enable Play Protect scans, set up Find Device with Remote Lock, and add Theft Protection so you can act fast.
Tips: in minutes you can harden core controls. Audit permissions, hide two‑factor authentication codes from previews, and practice a lock phone action quarterly.
Rotate these quick tasks every few months. A simple 15‑minute tune‑up saves you time and protects your data. Share this checklist with family and teams so each android phone has a baseline of good security.
