
Have you ever wondered how fast a breach can ruin trust, revenue, and search rankings? That moment feels sudden, but most incidents follow clear signs: browser alerts, strange redirects, defaced pages, or spammy search results.
Stay calm but act with urgency. The goal here is a repeatable, auditable response that cuts downtime and preserves evidence. I focused on containment first, then collected logs and off-site backups before touching live files.
Dual scanning—remote and server-side— helped reduce false negatives, while rotating passwords and trimming user roles closed common human-vector gaps. I coordinated with hosting, validated results in Google tools, and protected core code, plugins, and database records during restores.
Key Takeaways
- Act calmly and document every step for audits and legal needs.
- Capture logs and secure an off-site backup before changes.
- Use both remote and server-side scans to confirm malware.
- Limit admin users, rotate passwords, and review access.
- Work with hosting and request review after hardening.
Assess the Damage and Contain the Incident
Act quickly: limit exposure and protect visitors while you gather evidence. Containment reduces harm and preserves data for later review. Start with simple, reversible controls and then document every step.

Immediate steps: take the site offline or restrict access
Place the site in maintenance mode or apply IP restrictions. If users had accounts or transactions, notify them and force password resets. Contact your hosting team and ask about temporary suspension if exploitation is active.
Verify visible symptoms
Look for clear signals:
- Browser warnings or Google blocklist alerts.
- Redirects, defacements, odd ads, white screens, or random code snippets.
- Traffic spikes from foreign IPs or sudden slowness.
| Indicator | Action | Why it matters |
|---|---|---|
| Browser interstitials | Capture screenshots and timestamps | Needed for blocklist appeals |
| Unknown redirects | IP-block offending domains and preserve logs | Prevents visitor exposure and traces origin |
| Defacement or strange ads | Freeze public pages and secure server access | Stops reputation damage and data leakage |
Preserve all files and logs — do not delete anything yet. That snapshot aids forensic review and helps verify what changes occurred. Make sure you record hosting actions and any automatic quarantines.
Confirm the Compromise with Trusted Scanners
Start by validating the alarm with trusted remote and on-server tools. Run an external crawler, then follow with host-level scans so you catch both visible payloads and hidden backdoors. This two-track check reduces blind spots and speeds remediation planning.
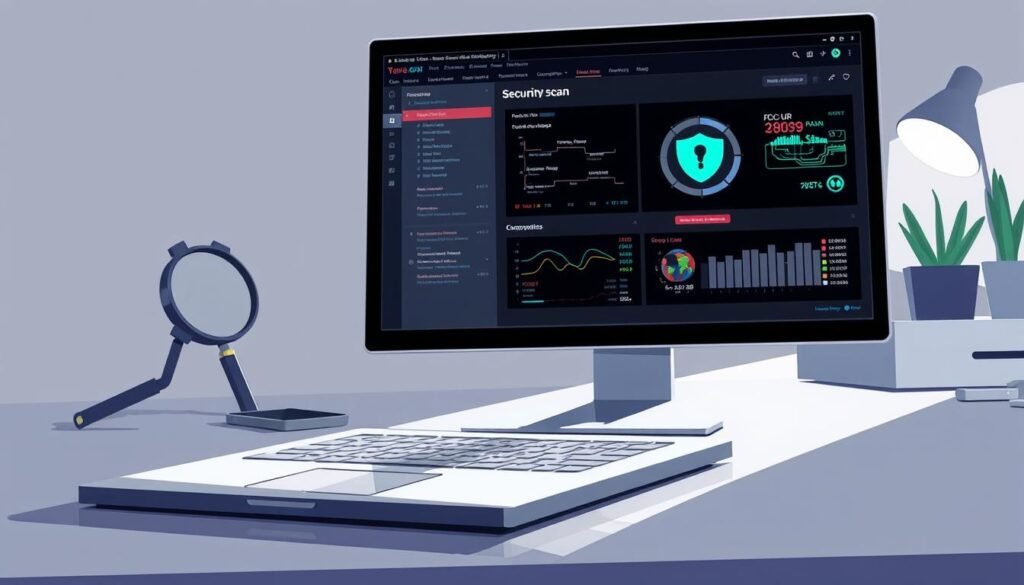
How should you scan externally and on the host?
Remote scans (Sucuri SiteCheck) find client-visible issues, malicious redirects, and infected pages that appear in search results or Google Search. Save the report and note flagged URLs.
What about deeper checks?
Server-side scans with plugins like Wordfence or Sucuri Security, or commercial tools such as Detectify and Intruder, detect backdoors, rogue scripts, and suspicious code in files and plugins. Cross-check results with VirusTotal for blocklist status.
- Compare tool outputs—one scanner may miss obfuscated payloads another finds.
- Inspect WebPageTest waterfalls for unknown third-party domains.
- Enable file integrity checks for CMS cores and save timestamps.
| Scan Type | Tool | Strength |
|---|---|---|
| Remote | Sucuri SiteCheck | Finds visible malware and blacklisting |
| Server-side | Wordfence / Sucuri plugin | Detects backdoors and malicious files |
| Vulnerability | Detectify / Intruder | Uncovers software flaws and weak endpoints |
| Blocklist check | VirusTotal | Shows multi-vendor detection history |
Create Fresh Backups Before Any Changes
Preserve evidence and protect recovery options before you alter any live files. Make isolated copies of the full site, database, and server logs right away.
Do not rely on a single copy. I created a full snapshot before touching anything: all website files, database tables, server logs, and configuration files. Label that image clearly as “post-incident” and keep it separate from older clean backups.

- Store off-site: keep one copy in cloud storage and one on an external drive. Avoid leaving archives on the production server.
- Prefer incremental backups to reduce transfer time and preserve fidelity when syncing only changed parts.
- Validate integrity: spot-check archives and export the database to confirm readable dumps and checksums.
| Item | Where to store | Why it matters |
|---|---|---|
| Website files | Cloud + external drive | Preserves code, themes, and uploads for analysis |
| Database | Encrypted off-site copy | Captures content and user records for timeline reconstruction |
| Server logs & configs | Separate snapshot from hosting | Essential for forensics and blocking persistent access |
Document locations, checksums, and timestamps. This record helps investigators and speeds recovery while maintaining security and auditability.
Harden Access: Change Passwords and Review Users
Start by locking down all credentials linked to your hosting and admin panels. This step reduces attacker access and sets the stage for safe recovery.

Rotate credentials for every account that touches your site. Reset the hosting account, CMS admin, FTP/SFTP, SSH, database users, and any email accounts used for notifications. Do not reuse passwords; create unique, strong passwords and store them in a manager.
Audit the user list in WordPress and other systems. Remove unknown users and downgrade roles that no longer need elevated rights. Keep admin-level access minimal and prefer one active Administrator on the wordpress website when possible.
- Enable two-factor authentication (2FA) for all admin logins.
- Reset API keys, tokens, and plugin license keys that could be abused.
- Check hosting control panels for unexpected FTP or email accounts.
| Action | Why it matters | Audit step |
|---|---|---|
| Rotate passwords | Stops credential reuse and brute-force vectors | Record timestamp and storage location |
| Limit users & roles | Reduces lateral movement risk | Export user list and remove unknown entries |
| Enable 2FA | Adds a strong second factor for access | Log enablement and recovery methods |
Log every change with timestamps. That record helps post-mortem reviews and keeps your site security auditable.
Forensic Timeline: Trace Changes and Examine Logs
A tight timeline narrows suspicious activity to specific hours and changed files. Use logs and file timestamps to map exactly when the attacker arrived and what they altered. This focused snapshot guides safe recovery and supports any appeals.

Review access and error logs on the web server. Pull access logs, error logs, and any proxy records. Look for unusual 404 bursts, odd user agents, repeated POSTs to admin-ajax.php, and uploads endpoints. Note IP clusters or geolocations that don’t match your audience.
How I traced modified files
Identify recently modified files via File Manager or SFTP. Compare timestamps with legitimate updates. Flag .php files inside uploads, odd .ico/.png holding code, and unexpected archives like .zip or .old.
Correlate traffic spikes with errors
Map spikes in traffic and error codes against the log timeline. Match login failures, POST floods, or database writes with changed files and plugin updates. Track core, theme, and plugins updates just before anomalies—they often reveal the initial vector.
“I captured the access logs, matched the earliest POST to an upload handler, and then found the modified file with an obfuscated backdoor.”
- Export logs and preserve checksums.
- Cross-reference admin logins with team records.
- Inventory server config edits and cron jobs during the window.
| Artifact | What to look for | Why it matters |
|---|---|---|
| Access logs | Odd user agents, repeated 404s, POST spikes | Pinpoints entry attempts and suspicious endpoints |
| Modified files | New timestamps, unexpected PHP in uploads | Shows code changes that enable persistence |
| Database entries | Mass edits, spam posts, new admin users | Reveals scope of content or account manipulation |
Keep a running timeline with dates, IPs, and actions. That record helps cleanup, supports blocklist appeals, and documents security improvements. For WordPress-specific hardening, see how to secure your WordPress site.
Check with Your Hosting Provider
Ask the host if other customers on the same server were impacted and whether access logging is enabled. This helps confirm cross-account infection risks and gives you forensic data.
Get immediate support and make logging and isolation priorities. Treat host collaboration as part of recovery and security hardening.
What to request from support
On shared hosting, compromises can jump between accounts. Open a ticket and ask for incident advisories or neighbor infection reports. Request detailed access logs if they are off by default.
- Ask about quarantined files and any server-side scans or WAF alerts.
- Confirm if the provider can isolate your hosting account or restore from clean snapshots.
- Request recent platform-level changes (PHP, cPanel, Apache) that match your timeline.
| Request | Why it matters | Action |
|---|---|---|
| Access logs | Essential for tracing access and forensics | Obtain full logs and checksums |
| Account isolation | Stops cross-contamination on shared servers | Ask for temporary suspension or sandboxing |
| Malware scans | Provider tools may spot server-level payloads | Request reports and quarantined files |
Validate recovery details and enable MFA on the hosting portal. Keep all correspondence for your incident record and next steps.
Use Google Search Console and Safe Browsing Diagnostics
Log into Google Search Console and review the Security Issues report for Google blocklist warnings and sample URLs. This quickly shows whether Google Search has flagged your site for malware, phishing, or harmful content.
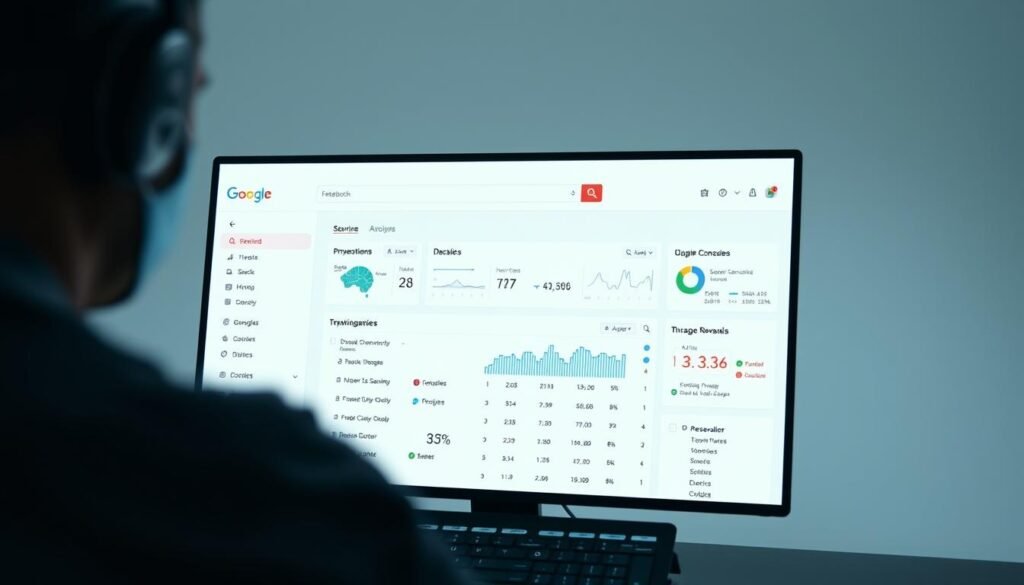
How I verified impact:
- I verified the property in Search Console, then inspected Security Issues under Security & Manual Actions for flagged pages.
- I used Google Safe Browsing diagnostics to see recent scans, redirects, and harmful downloads tied to the site.
- I correlated sudden traffic dips in Analytics with the timing of blocklist notices to validate user impact.
Extra checks and documentation: Capture screenshots of sample URLs and use URL Inspection for crawl and index details. If DNS verification fails, try alternate property methods or temporary HTML verification.
“Capture examples of flagged pages and payloads; these guide targeted cleanup and speed reconsideration.”
| Tool | What to check | Why it matters |
|---|---|---|
| Google Search Console | Security Issues, URL Inspection | Shows blocklist flags and last crawl results |
| Safe Browsing | Site status and recent scans | Confirms malicious redirects or downloads |
| MxToolbox / Mail checks | Spam blocklist for outbound mail | Protects email reputation and site trust |
Re-check these tools after each recovery step and consult Bing Webmaster Tools if you need parallel diagnostics. For guidelines on requesting review, see Google’s removal request help.
Reset and Review .htaccess and Other Core Config Files
Start with the .htaccess — it’s often the silent place where redirects and execution tricks hide. Reverting that file and checking core configs limits further visitor harm and prevents stealthy persistence.
Use File Manager or SFTP to access configs safely; do not edit live files without a backup. First, export the current .htaccess and compare it to a known-good baseline. Look for odd RewriteRule lines, AddHandler/AddType entries, or sections that reference external paths.
- Compare and clean: remove rogue RewriteRules, user-agent conditions, and injected PHP handlers.
- Restore defaults: reapply your CMS default .htaccess and then re-add legitimate rules for permalinks, caching, and redirects.
- Harden permissions: set 644 for files and 755 for directories on Apache, and restrict ownership so the web server cannot modify config files freely.
Search other config files for suspicious code and obfuscated directives. Check php.ini or user.ini overrides that disable error reporting. If you run nginx or IIS, review server blocks and web.config for similar tricks.
“Malicious rules often regenerate if a backdoor remains. Reset configs, then hunt for the hidden loader.”
| Item | Action | Why it matters |
|---|---|---|
| .htaccess | Compare with baseline and restore defaults | Stops redirects, error hijacks, and MIME handlers that execute PHP |
| File permissions | Enforce 644 (files) / 755 (dirs) and correct ownership | Limits unauthorized modification of website files and core configs |
| Config scans | Search for obfuscated includes and odd paths | Finds loaders that pull remote code onto the server |
| Validation | Test redirects from clean browsers and re-run scanners | Ensures rules serve only intended destinations and no rules regenerate |
Keep a clean config template offline for rapid restore. After resets, re-run your scanners and monitor changes; malicious rules often return when a backdoor remains in files or plugins.
Remove Malware from Website Files
Begin with core file verification: get fresh distribution packages that match your WordPress version and replace infected core files. This avoids reintroducing known vulnerabilities and preserves compatibility.
Do not overwrite wp-config.php or wp-content. Instead, compare those files in the file manager against clean backups and surgically remove suspicious inserts like error_reporting(0), eval, or base64_decode chains.
Use a diff tool to spot added functions or odd iframes. Remove dropped shells and strange image-named PHP files in uploads. Reinstall plugins and themes from trusted sources and delete unused extensions.
After each change, test site functionality and re-scan. Track every file touched with prior hashes and timestamps for your audit trail. If you lack a clean backup, fetch verified packages and validate hashes before rebuilding core.
For step-by-step recovery help and professional recommendations on how to remove malware, consult vendor guidance and coordinate with host quarantine notices.
Clean and Repair Database Tables
Export a verified database dump and keep it offline before editing rows or options. This backup is your rollback anchor and evidence for audits.
Work in phpMyAdmin or Adminer with the export saved locally. Search key tables like wp_posts, wp_options, and wp_users for spammy keywords, hidden links, and odd serialized payloads. Focus on fields that store content or autoloaded options.
Search for injected content and suspicious accounts
Look for base64, gzinflate, or long unreadable strings inside post content or option values. Decode samples before removal so you don’t break valid serialized data.
Safely edit and verify site functionality
When mass spam appeared after a known date, run scoped SQL updates that trash only the injected rows. Review the users table, remove unknown admin entries, and reset passwords for legitimate accounts.
- Back up the database first, then search for spam terms and hidden links.
- Target posts, options, users, and custom e‑commerce tables.
- Validate autoloaded options aren’t calling remote scripts or cron tasks.
- Re-scan with a database-aware security tool and remove temporary DB tools afterward.
Load key pages after edits and confirm templates, shortcodes, and widgets render correctly. Document every change with timestamps and checksums for your incident record.
Complete Process to Clean a Hacked Website
Start by hunting for stealthy loaders and encoded snippets that let attackers return unnoticed. This is the step where you remove persistence and close backdoors that call eval, base64, gzuncompress, or move_uploaded_file. Scan PHP files, theme folders, and upload directories for obfuscated code.
Eliminate hidden backdoors and obfuscated payloads
Look for known dangerous functions such as eval, exec, system, assert, preg_replace(/e/), and str_rot13. Decode samples before deleting so you don’t break serialized data.
Reset salts/keys, enforce strong passwords, and limit admin roles
Reset WordPress salts and keys to invalidate sessions and force re-authentication. Then require strong passwords and enable multi-factor authentication for all admin users. Reduce admin accounts and apply least-privilege across users and integrations.
Set up a Web Application Firewall and update vulnerable software
Deploy a WAF (Cloudflare or Sucuri) to block malicious traffic and provide virtual patching. Update your CMS, plugins, themes, PHP, and server packages promptly. Remove unused extensions and verify cron jobs and scheduled tasks aren’t reintroducing malicious files.
- I scanned for backdoors, focusing on encoded payloads attackers use to regain access.
- Reset salts/keys, enforced strong passwords, and enabled MFA for admin users.
- Updated CMS, plugins, themes, and server software; removed abandoned extensions.
- Deployed a WAF and configured rate limiting, login protection, and IP restrictions.
- Re-scanned site and database tables to confirm all malware was removed and persistence cleared.
“Maintain a written post-incident checklist so the best way forward is repeatable and auditable.”
For step-by-step vendor guidance, see this cleanup guide.
Restore Trust and Request Blocklist Reviews
After cleanup, your next priority is restoring public trust and removing search engine warnings quickly. File formal review requests and tell users what changed in simple terms.
Start with Google Search Console. Use the Security Issues tool to request a review and include exact URLs, timestamps, and the steps you took. Attach scanner reports and logs that show before/after findings.
How to request reviews with search engines and vendors
- Search Console: submit your Security Issues review and explain what was fixed and what prevents recurrence.
- Other vendors: file parallel requests with McAfee, Yandex, G‑Data, FortiGuard and any services that flagged your site.
- Support evidence: include scans, log excerpts, and screenshots to speed delisting from the google blocklist and peers.
What to tell users and stakeholders
Be transparent if accounts or data might be exposed. State the scope, the remediation steps, and recommended user actions.
- Ask users to change passwords and enable 2FA.
- Advise monitoring financial accounts if relevant.
- Provide a concise postmortem for regulators or partners when required.
Track every review and keep records. Monitor Search Console and analytics for residual indexing or cached infected pages. If email reputation suffers, run domain health checks and fix DNS or mail issues.
Request review guidance and keep your support tickets detailed—this speeds approvals and helps restore traffic and trust.
Conclusion
Finish with clear records and repeatable checks that keep your site resilient.
Rotate passwords, secure accounts, keep off‑site backups, and schedule routine scans.
Keep documentation short and actionable. Record log timelines, list changed files in the file manager, and note database tables altered. Use Search Console for Google blocklist checks and follow vendor review steps.
Harden the stack. Deploy a WAF, update core software and plugins, enforce strong passwords and MFA, and monitor the web server and backups. Run periodic scans and integrity checks so you spot anomalies early.
If users lost access or data, communicate clearly and offer steps they can take. Maintain a tested playbook and a trusted partner on call. That’s the best way to remove malware faster and restore trust when a site is hacked.
