
Imagine leaving your house keys under the doormat. 🗝️ Sure, it’s convenient for you, but it’s also a goldmine for anyone with bad intentions. The same goes for leaving your server’s sensitive data out in the open. HTTP headers, those digital name tags, can sometimes reveal way more than they should.
One leaked IP address is like handing attackers a treasure map 🗺️ to your network. They can map it out, find weak spots, and exploit them before you even notice. Scary, right? But don’t worry—this guide is here to help you play hide-and-seek with your server’s sensitive info.
From IIS servers to Exchange vulnerabilities, we’ve seen real-world examples of what happens when things go wrong. The good news? You can take steps to tighten your security and protect your web server from potential threats. Let’s dive in and make your server a fortress. 🛡️
Key Takeaways
- Exposed IPs in headers can leave your network vulnerable to attacks.
- HTTP headers act as digital name tags, sometimes revealing too much.
- One leaked IP can help attackers map your entire network.
- Real-world examples include IIS servers and Exchange vulnerabilities.
- Taking proactive steps can significantly improve your server’s security.
Understanding the Risk of Exposed Internal IP Addresses
Think of your server as a vault—leaving its keys out is asking for trouble. 🚨 When headers like Content-Location or Location reveal sensitive details, it’s like leaving your WiFi password on a Starbucks napkin ☕. Convenient for you, but a goldmine for hackers.
Attackers can use these details to map your entire network. It’s like handing them the blueprint to your digital fortress. 🏰 Once they have that, they can exploit weaknesses faster than you can say “security breach.”

Take the Microsoft Exchange CAS vulnerability as an example. This issue allowed attackers to gain access to critical information simply by exploiting exposed headers. The result? A massive disclosure of sensitive data that could have been avoided.
Here’s the kicker: headers like Content-Location and Location are often the culprits. They’re designed to help, but without proper configuration, they can leak your server’s secrets. 🕵️♂️
- Exposed IPs are like handing hackers a treasure map. 🗺️
- Attackers use them to map your network and find weak spots.
- Specific headers like Content-Location and Location are common sources of leaks.
So, what’s the takeaway? Protecting your server starts with understanding the risks. Don’t let your digital fortress become a hacker’s playground. 🛡️
How to Verify if Your Server is Vulnerable
Ever wondered if your server is spilling secrets? 🕵️♂️ It’s time to play server detective and uncover any hidden leaks. Whether you’re a fan of automation or prefer the old-school hacker vibe, we’ve got the tools to help you out. Let’s dive in!
Automated Verification with Nessus
Let the robots do the work 🤖. Nessus, a powerful vulnerability scanner, can quickly check if your web server is exposing sensitive details. Use plugin ID 10759 to scan for issues like internal addresses in headers. It’s like having a security guard who never sleeps.

Manual Verification with Curl
Prefer the terminal warrior route? ⌨️ Use the Curl command curl -v -H "Host:" http://your-web-server to inspect the request headers. Look for patterns like 192.168.x.x—these are red flags. If you spot them, it’s time to tighten your defenses.
Pro tip: Don’t forget to check after midnight changes. Servers get chatty when tired 😴.
Here’s an example of a vulnerable response: Content-Location: http://192.168.0.1/page.htm. If you see this, it’s a red alert 🚨. For more details on this type of vulnerability, check out this resource.
How to Fix Exposed Internal IP Addresses in Headers
Your server might be giving away more than you think. 🕵️♂️ Those sneaky headers can reveal sensitive details, leaving your network wide open. But don’t worry—it’s time to suit up your server like Iron Man 🦾 with multiple protection layers. Let’s dive into the solutions.
Update Your IIS Server
Keep your IIS fresh like new sneakers 👟. Regular patches and updates are your first line of defense. Microsoft frequently releases security updates to address vulnerabilities. Make sure your server is always running the latest version. Pro tip: Set up automatic updates to stay ahead of the game.
Configure IIS Response Headers
Teach your server to STFU about internal IPs 🤫. Headers like Content-Location and Location often spill the beans. Use IIS Manager to configure these headers and remove any sensitive information. It’s like giving your server a crash course in discretion.
Implement a Web Application Firewall (WAF)
Think of a WAF as a digital bouncer 🚪. It checks every incoming and outgoing request, ensuring no sensitive details slip through. Many WAFs come with built-in features to sanitize headers, making them a must-have for any secure setup.
Use the URL Rewrite Module
Abracadabra, IPs disappear! ✨ The URL Rewrite Module is like magic for your headers. It allows you to create rules that automatically remove or mask sensitive information. This module is a game-changer for keeping your server’s secrets safe.

| Solution | Key Benefit |
|---|---|
| Update IIS Server | Keeps your server secure with the latest patches. |
| Configure IIS Headers | Prevents sensitive information from leaking through headers. |
| Implement WAF | Acts as a digital bouncer to sanitize requests. |
| URL Rewrite Module | Automatically masks or removes sensitive details. |
Step-by-Step Guide to Configuring URL Rewrite Rules
Ready to roll up your sleeves and dive into some server wizardry? 🧙♂️ Configuring URL rewrite rules might sound like tech sorcery, but with the right steps, it’s easier than you think. Let’s transform your web server into a fortress of discretion, one rule at a time.
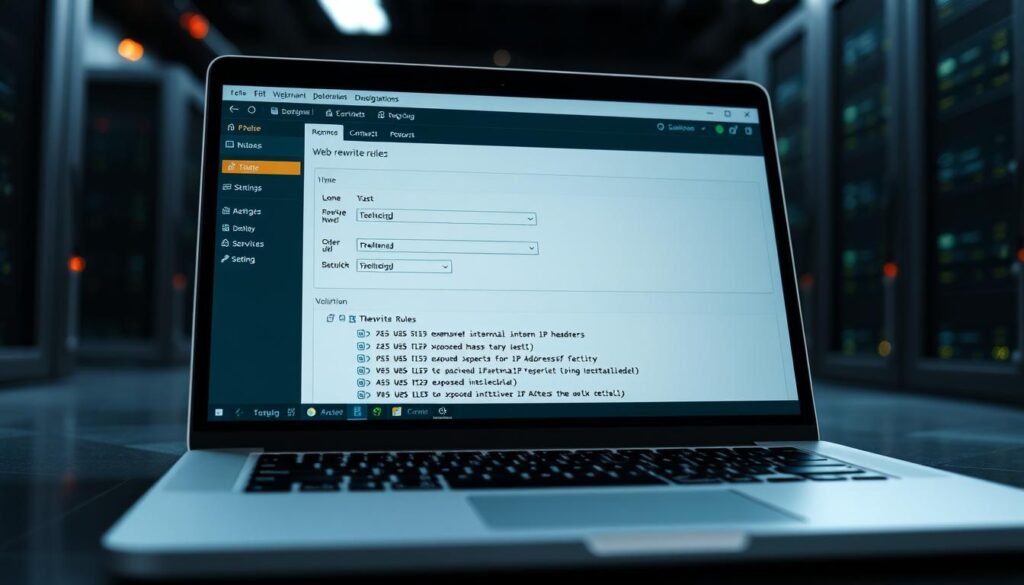
Installing the URL Rewrite Module
First things first—download the digital duct tape from Microsoft 🔧. The URL Rewrite Module is your go-to tool for crafting rules that keep sensitive details under wraps. Head over to the official Microsoft site, grab the installer, and follow the prompts. It’s like giving your web server a new superpower.
Pro tip: Backup your server before installing. Unless you enjoy living on the edge 😅.
Creating Rules to Remove Sensitive Headers
Now, let’s craft some header ninja stars 🥷. Open IIS Manager and navigate to the URL Rewrite section. Here, you’ll create rules that target headers like Content-Location and Location. These rules will ensure your response headers don’t reveal any sensitive address details.
- Identify headers that leak sensitive info.
- Create rules to mask or remove these headers.
- Test the rules to ensure they’re working as expected.
Example Rule in web.config
Time for some copy-paste magic 🧙♂️. Here’s an example of what your web.config file might look like after adding a rule:
<rule name="Remove Internal IP">
  <match url=".*" />
  <conditions>
    <add input="{HTTP_Content-Location}" pattern="192\.168\.\d{1,3}\.\d{1,3}" />
  </conditions>
  <action type="Rewrite" url="https://your-public-domain.com" />
</rule>
This rule ensures any address starting with 192.168.x.x gets rewritten to a public domain. Simple, effective, and a lifesaver for your web server’s security.
Conclusion
You’ve leveled up your server’s defenses—now it’s time to celebrate 🎉. By following these steps, you’ve unlocked the “Secure Headers” achievement 🏆. Your server is now a fortress, and hackers are left scratching their heads 🤡.
Don’t stop here—double-check your work. Hackers love participation trophies 🏅. Rescan for any lingering vulnerability to ensure your setup is airtight. Share this information with your sysadmin squad 👯. Together, you can keep your network safe and sound.
Remember, only cookies should be exposed, not sensitive details 🍪. Your server now vs. script kiddies trying to find leaks? It’s a comedy show 🤡. Keep up the great work, and stay secure!
